

Replacing a bathroom exhaust fan might seem like a daunting task, but with the right guidance and tools, it can be a manageable DIY project. An efficiently functioning exhaust fan is crucial for maintaining good air quality and preventing mold and mildew in your bathroom. In this guide, we’ll walk you through the step-by-step process of replacing your bathroom exhaust fan, ensuring that you can tackle this project with confidence.
Banishing Bathroom Blues: A Comprehensive Guide to Replace Bathroom Exhaust Fan
A functional bathroom exhaust fan is an unsung hero, silently keeping your bathroom free from moisture, mold, and unpleasant odors. But even the most valiant fan can succumb to the wear and tear of time. A noisy, rattling, or inoperable exhaust fan not only disrupts your bathroom peace but also creates an environment ripe for mold growth and structural damage.
Fortunately, replacing a bathroom exhaust fan is a DIY project well within the reach of most homeowners with basic handyman skills. This guide will walk you through the entire process, from choosing the right replacement fan to turning on your shiny new unit and enjoying fresh, moisture-free air.
Safety First: Power Down and Gather Supplies
Before diving into the heart of the project, prioritize safety. Locate your home’s electrical panel and turn off the breaker that supplies power to the bathroom. Double-check by turning on the bathroom light switch – it should remain off.
With the power safely off, gather the necessary tools and materials. Here’s a checklist:
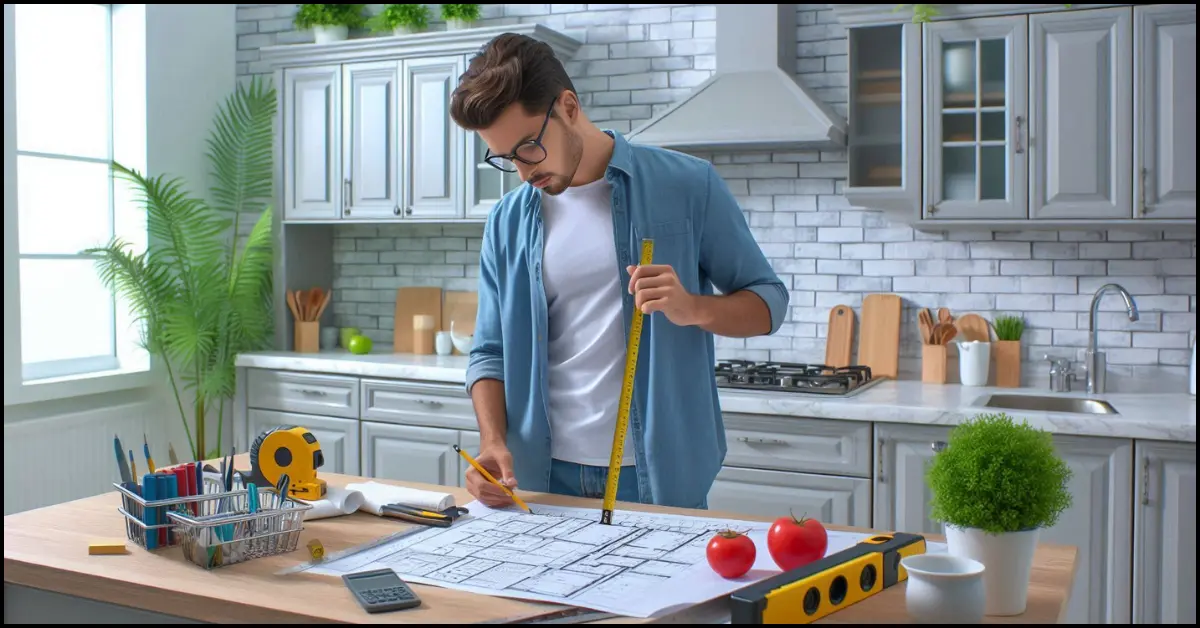
- Replacement exhaust fan: Choose a fan with a CFM (Cubic Feet per Minute) rating suitable for your bathroom size. Higher CFM is recommended for larger bathrooms with bathtubs or showers.
- Screwdriver (Phillips and flathead)
- Wire cutters/strippers
- Electrical tape
- Drill (optional, for adding screws if needed)
- Utility knife
- Vacuum cleaner
- Duct tape
- Pencil
- Safety glasses
- Dust mask
Assessing Your Current Exhaust Fan
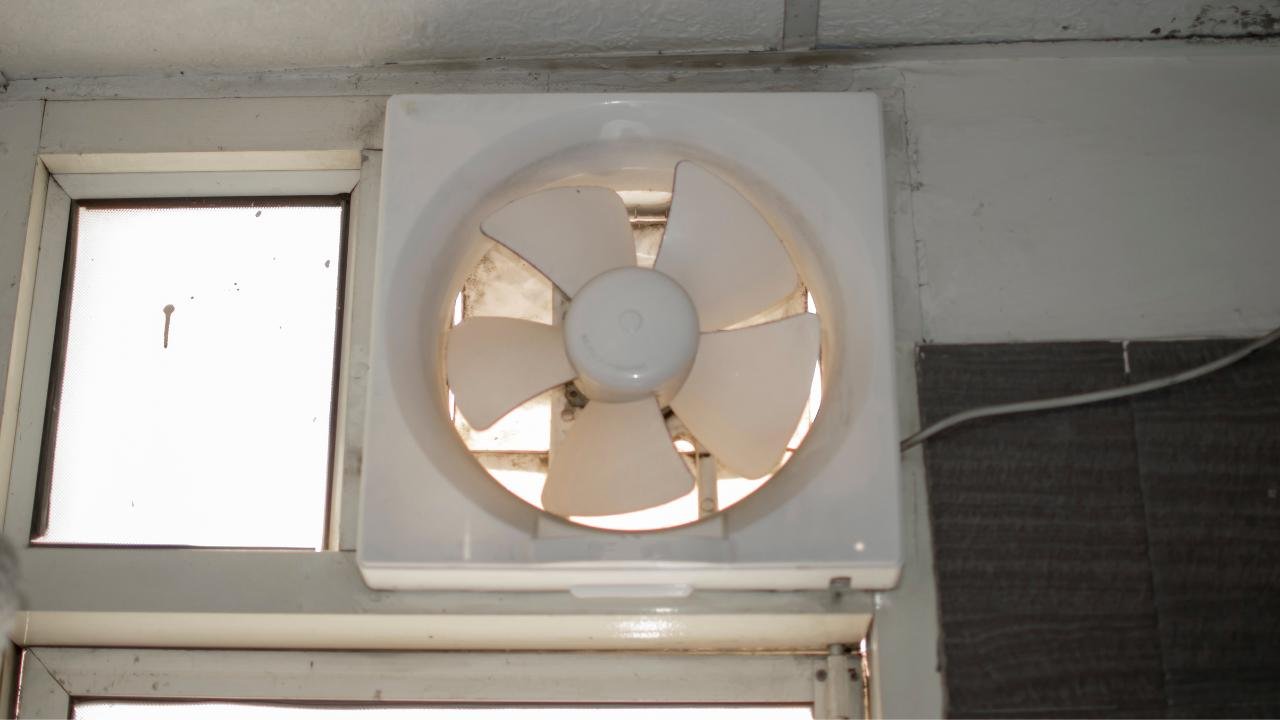
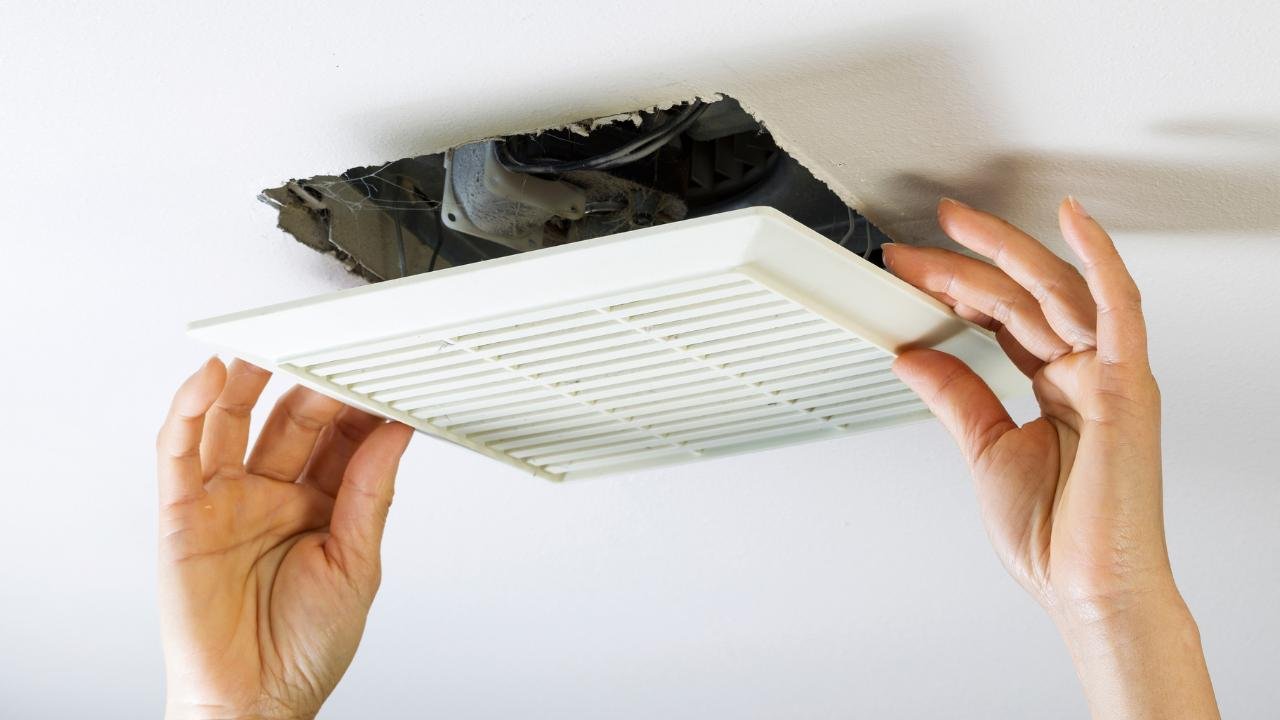
Before diving into the replacement process, it’s essential to assess the condition of your current exhaust fan. Start by turning off the power to the fan at the circuit breaker to ensure safety. Then, remove the cover and inspect the fan for any visible damage or signs of wear and tear. Note down the make and model of your existing fan, as this information will be helpful when purchasing a replacement.
Gathering Necessary Tools and Materials
To replace your bathroom exhaust fan, you’ll need a few basic tools and materials. These typically include a screwdriver (both flathead and Phillips), wire cutters, a voltage tester, a utility knife, and a new exhaust fan unit that matches the specifications of your old one. Additionally, you may require duct tape, wire nuts, and possibly a new duct if the existing one is damaged or incompatible with the new fan.
Turning Off Power and Removing the Old Fan
Safety should always be a top priority when working with electrical components. Begin by switching off the power supply to the bathroom at the circuit breaker. Use a voltage tester to ensure that the power is indeed turned off before proceeding. Once confirmed, remove the cover of the old exhaust fan and disconnect the wiring connections. Then, carefully unscrew and detach the fan unit from the ceiling or wall, taking care not to damage the surrounding area.
Installing the New Exhaust Fan
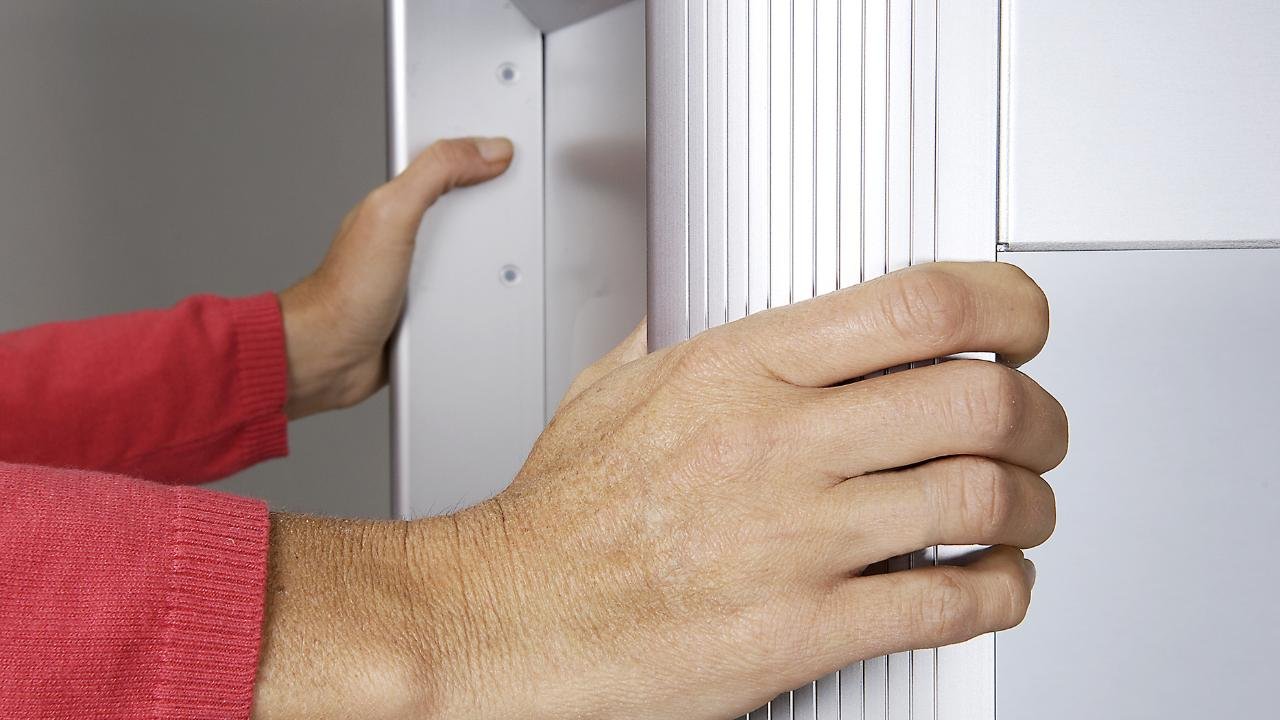
With the old fan removed, it’s time to install the new one. Start by positioning the new fan unit in place, ensuring that it aligns with the existing ductwork and electrical wiring. Use a screwdriver to secure the fan to the ceiling or wall, following the manufacturer’s instructions for proper installation. Next, reconnect the electrical wiring, matching the corresponding wires (usually color-coded) and securing them with wire nuts. Double-check all connections to ensure they are tight and secure.
Testing the New Exhaust Fan
Before closing up the installation, it’s crucial to test the new exhaust fan to ensure that it’s functioning correctly. Switch the power back on at the circuit breaker and test the fan by turning it on and off from the switch. Listen for any unusual noises or vibrations that could indicate improper installation. Additionally, use a tissue or piece of paper to check for adequate airflow from the fan to confirm that it’s effectively ventilating the bathroom.
Replacing the Cover and Finishing Touches
Once you’ve verified that the new exhaust fan is working correctly, it’s time to replace the cover and make any necessary adjustments. Ensure that the cover is securely attached to the fan unit, using the provided screws or clips. If the new fan includes a grille or decorative cover, install it according to the manufacturer’s instructions. Finally, tidy up any loose wires or debris and give the area a thorough clean to complete the installation.
Conclusion
Replacing a bathroom exhaust fan is a manageable DIY project that can greatly improve the air quality and comfort of your bathroom. By following the step-by-step guide outlined above and taking necessary safety precautions, you can successfully replace your old fan with a new, efficient model. Remember to consult the manufacturer’s instructions for specific guidance on installation and maintenance, and don’t hesitate to seek professional assistance if you encounter any difficulties beyond your expertise. With a properly functioning exhaust fan in place, you can enjoy a fresher, healthier bathroom environment for years to come.
Read More: How to Remove Bathroom Sink Stopper

0 Comments